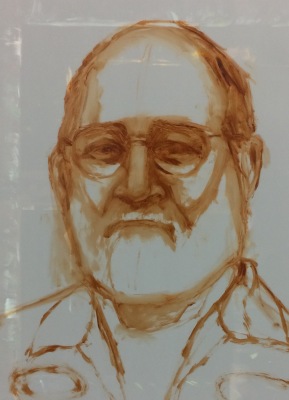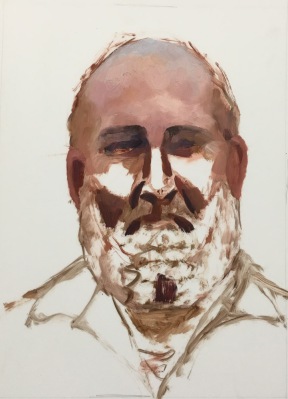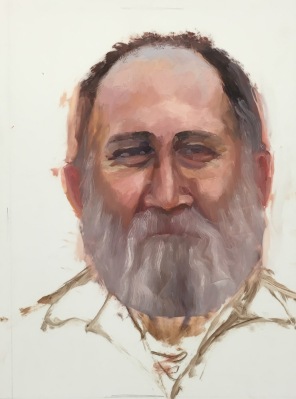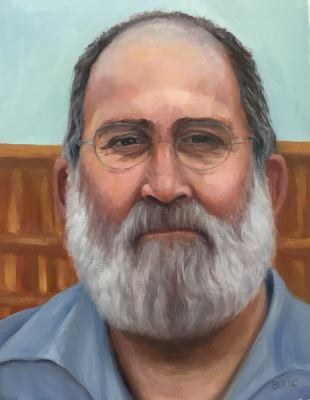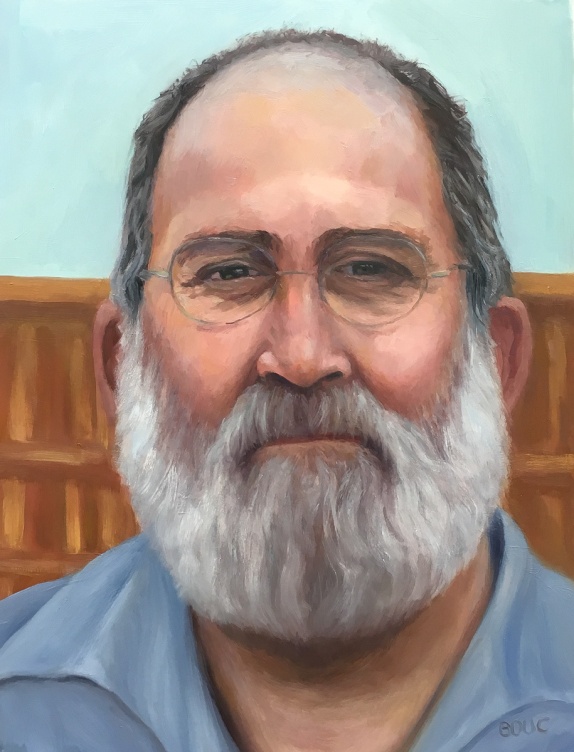
When Jeff the Handyman (who does excellent carpentry and electrical work) came over to look at a job, he was kind enough to let me take his photo for the series I’m painting of people at work in my neighborhood. I tried three times, before and after I started studying head structure and anatomy. With the third study (above) I felt like I’d said what I had to say, with the skills I have at this point, and was ready to move on.
Above is the final study and immediately below are all three attempts in chronological order.
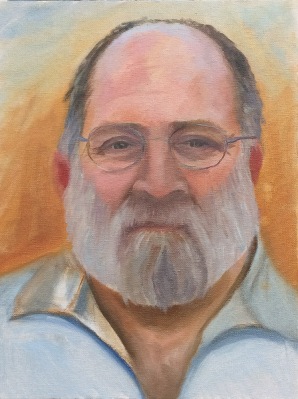


My favorite part of all three above is the sky reflecting on the top of his head. With each attempt my drawing improved a bit. The more I learn, the more I see, and the more I see, the more I know I need to learn!!!. Below are all three studies with work in progress (WIP) steps. I’m not offering the WIP to show how it “should” be done; just the approach I was experimenting with. I am always trying on techniques of other artists I admire but haven’t yet found the approach that “just works” for me.