I watched artist and teacher Mike Creighton draw Zel K. during Sktchy’s free Saturday morning YouTube stream last week and decided to draw him myself. You can see the photo reference of Zel on Sktchy here.
Mike taught a great way to draw glasses at about 22 minutes in on the video.
Screenshot from Sktchy video linked above.
First draw the rectangle into which they fit, getting the perspective and angles right, then just round off or embellish to match the shape of the glasses. What a game changer!
Mugshots of 10 of the 11 morons arrested for plotting to kidnap the governor, graphite on paper, 14″ x 8.5″
When I saw the mugshots of the morons that plotted to kidnap Michigan’s governor, I had to draw them. (I know, I’m weird.)
The strange thing about drawing someone is that in the process you begin to see their humanity, develop compassion for them, see the sadness in their eyes, recognize that they have mothers who may or may not have loved them. But still….
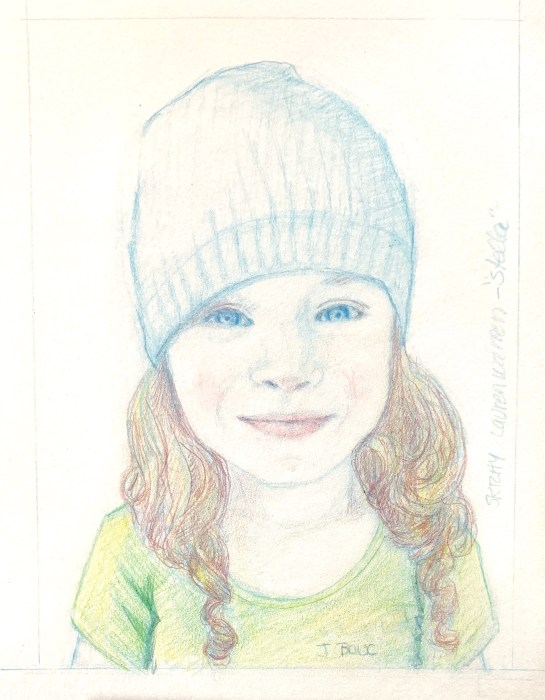
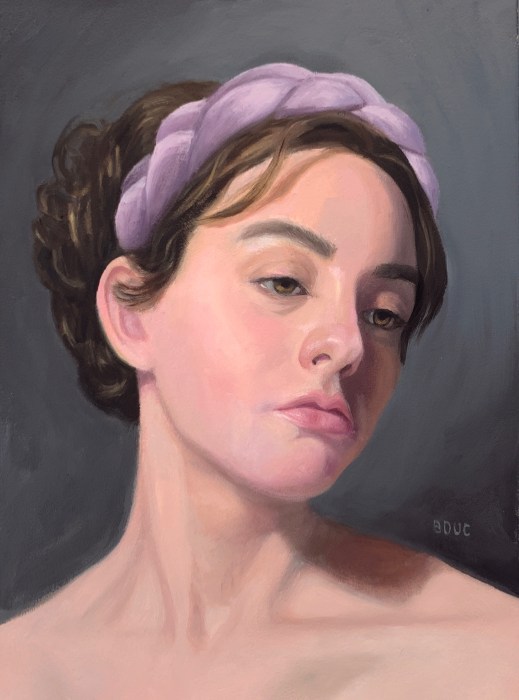
Christiane Vex, Sktchy, graphite 10×10″ To see the photo reference, visit Sktchy, here and click the drawing.
I recently finished a 4-week class on Sktchy’s Art School, “Drawing the Human Head with Mike Creighton” based on the Loomis method. I highly recommend Mike’s class if you struggle with making people look like actual human people, let alone looking like very specific people.
This was the last portrait sketch I did before beginning on some intensive head drawing study. More about that coming up on my next posts, but wanted to get this one from over a month ago posted first. You can see the reference photo by clicking on my sketch on Sktchy here.
This commissioned portrait of a darling little girl was really fun to paint but had some challenges, like trying to invent the pajamas hidden by the highchair straps. It took several drawings (including one of a baby skull I found on Google) before I was ready to move ahead with the painting as you can see in the process steps below.
Emi’s face was actually easier to paint than the pajamas, and I was tempted to keep working on them, probably forever, but the friend who commissioned the painting was happy with it as is, so I am too.
Below is some of the work in progress steps. Please note that the lighting changed the colors in some of the photos.
Mimi at Marcy’s, oil on Arches Oil Paper, 9.5″ x 7″
Although I’m happy with this pre-quarantine composition and painting, I regret not checking the drawing before beginning to paint. I sensed something wasn’t right and sure enough, when I did the digital tracing (below) I found my mistake, but it was too late. I’d either need to start over or let it go.
When drawing/painting people I ask myself, “Does it at least look human, if not that specific human?” Hmmmm. Well, I guess I can celebrate the parts that worked and let go of mistakes and remember to check my drawing next time! Also I might be coming to believe that sometimes the anatomy isn’t as important as the feeling I’m trying to convey, and that caricature or distortion might be ok (though it’s probably better when it’s intended).
This was one of those paintings that just flowed and was fun from beginning to end. I started with a drawing in pencil (below) on Arches Oil paper and then applied a layer of Golden GAC 100 acrylic sealant over the sketch to make the surface less absorbent and more slippery.
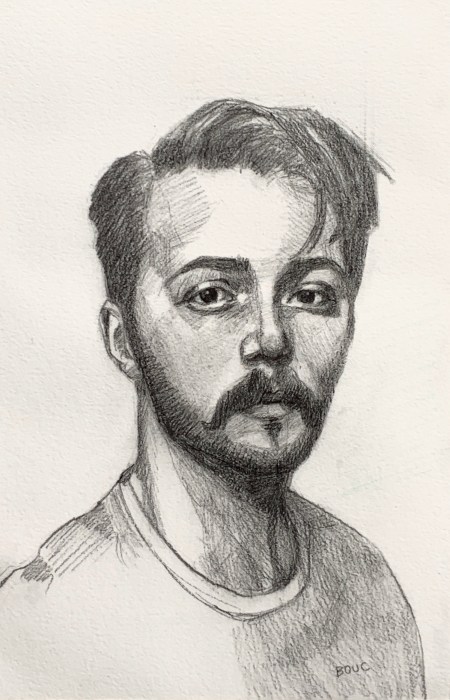
Graphite sketch of Dylan H from Sktchy, 11×7″
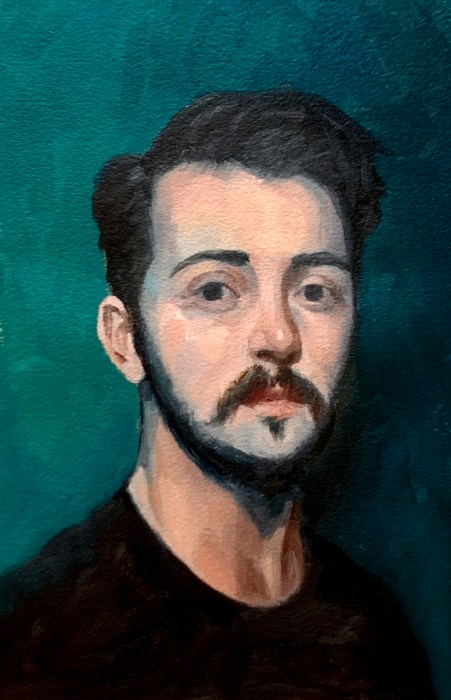
My goal for this painting was to stop as soon as the painting said what I wanted to say and before things got over-worked, overly perfected and I’m pleased to say that’s exactly what I did. Sure, there are many things that could be better but I like it just the way it is.
The images below show the steps in the process, from the graphite drawing, to an umber underpainting, to the block-in and final layer of paint.
Oil portrait of Dylan H from Sktchy, 11×7”
WIP, initial block-in completed
WIP, initial block-in neck and ear not yet painted
Underpainting in Raw Umber
Graphite sketch of Dylan H from Sktchy, 11×7″
My sketch and the Sktchy app reference photo on my iPad
Completed painting and the steps leading up to it.
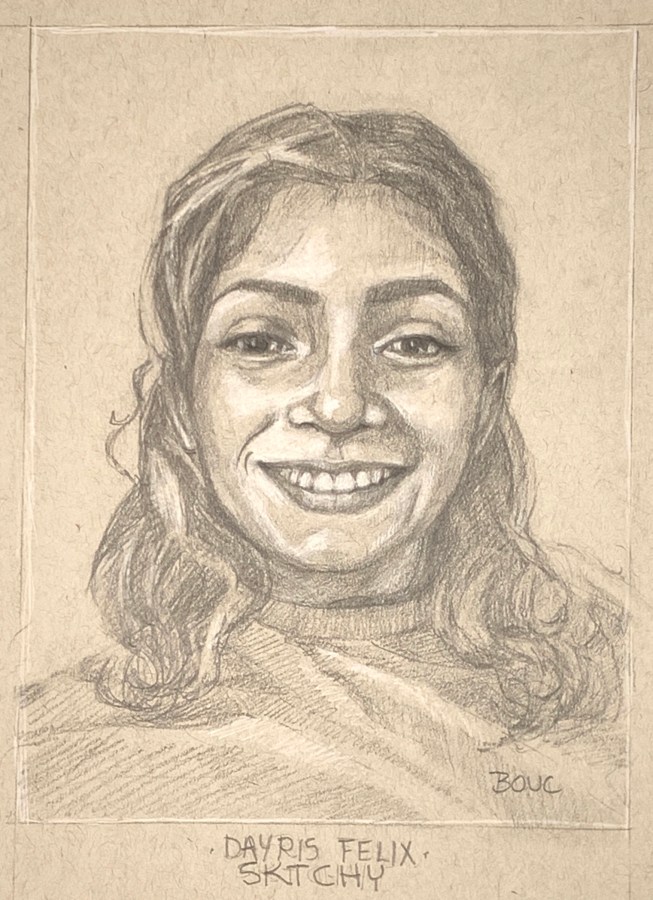
Portrait of Dayris, Oil on Arches Oil Paper, 10″x8.5″
I’ve had so much fun painting and sketching the lovely Dayris from Sktchy in oil (above), and before that, in pencil and then doing a digital sketch in Procreate (below). Also below you’ll find a slide show of the work in progress. Doing the two initial drawings really helped me quickly get a pretty accurate drawing for the oil painting. You can see her reference photo on Sktchy here.
Initial pencil drawing of Dayris, 12×9″
Digital Sketch of Dayris in Procreate
Below are the steps in the process of making the portrait.
Initial pencil drawing of Dayris, 12×9″
Digital Sketch of Dayris in Procreate
Umber underpainting
Some background and shirt
Some paint on face
Icky background in with palette knife
More work on background, still icky
Background better but not happy with shirt or hair
Almost done
Scraped off shirt and some hair to redo
Portrait of Dayris, Oil on Arches Oil Paper, 10″x8.5″
Portrait of Kori L from Sktchy, 10×8” oil on gessoed watercolor paper
After working on this portrait for two months, trying over and over to capture this lovely woman in paint, I have to admit I never truly succeeded. I learned from all the struggles and attempts but it’s about to be a new year and time to start something new so I’m moving on. You can see her reference photo on Sktchy by clicking on the image of my painting here.
Below are two digital sketches in Procreate from Sktchy, done this month while waiting for the paint to dry on the portrait to try once again on a new layer of oil paint to get it right.
Sketched in Procreate from a Sketchy app photo by Nicolas Schram Illustration
You can see the reference photo for the sketch above here and the one below here on Sktchy. Just click my drawing there to see the reference photo beneath it.
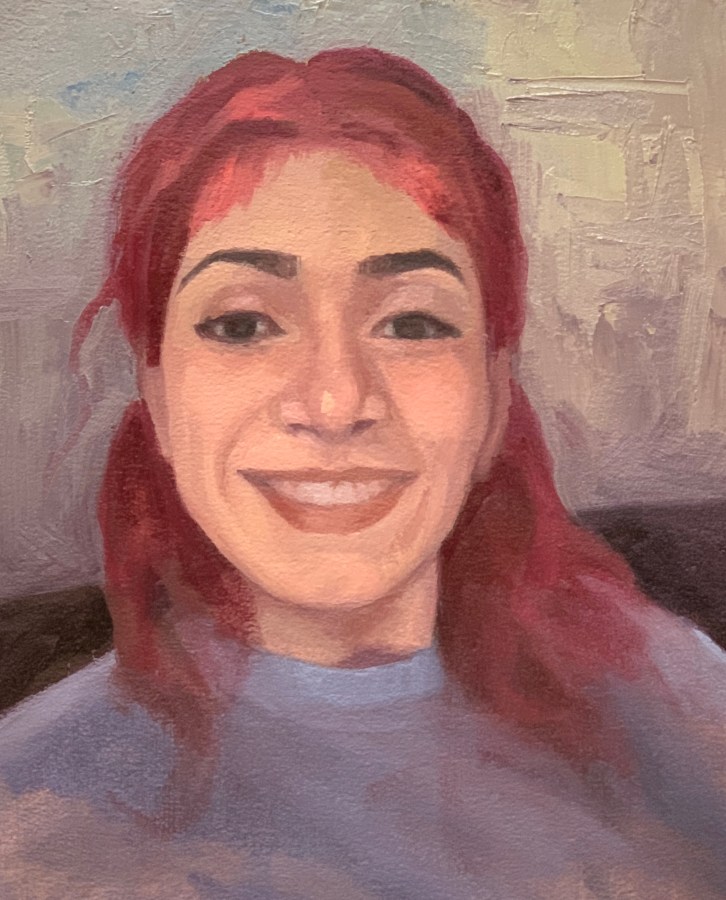
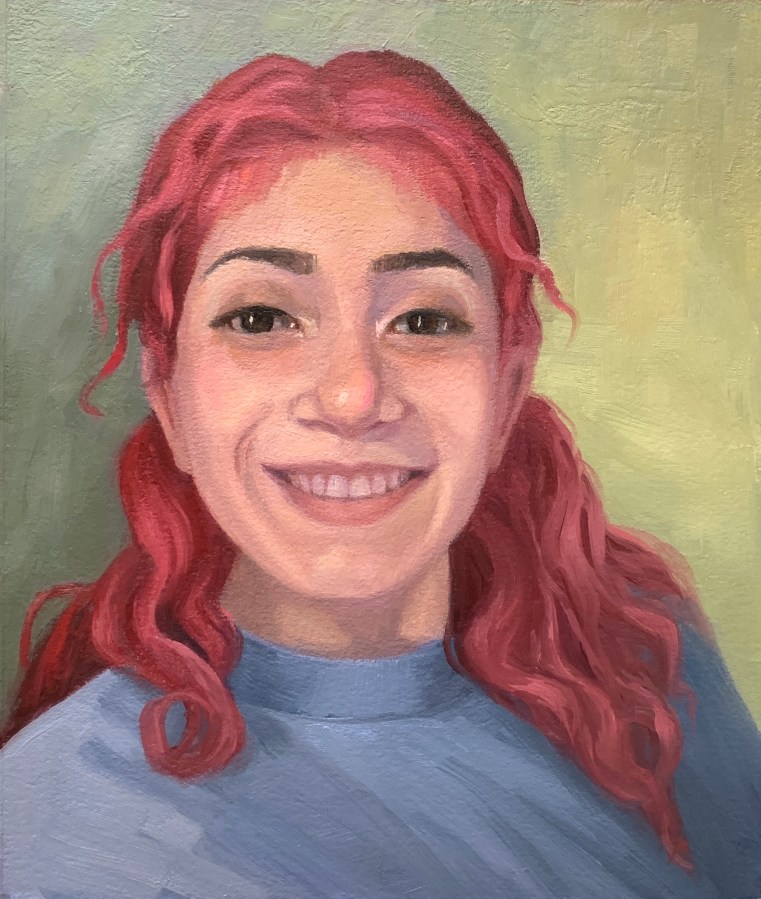
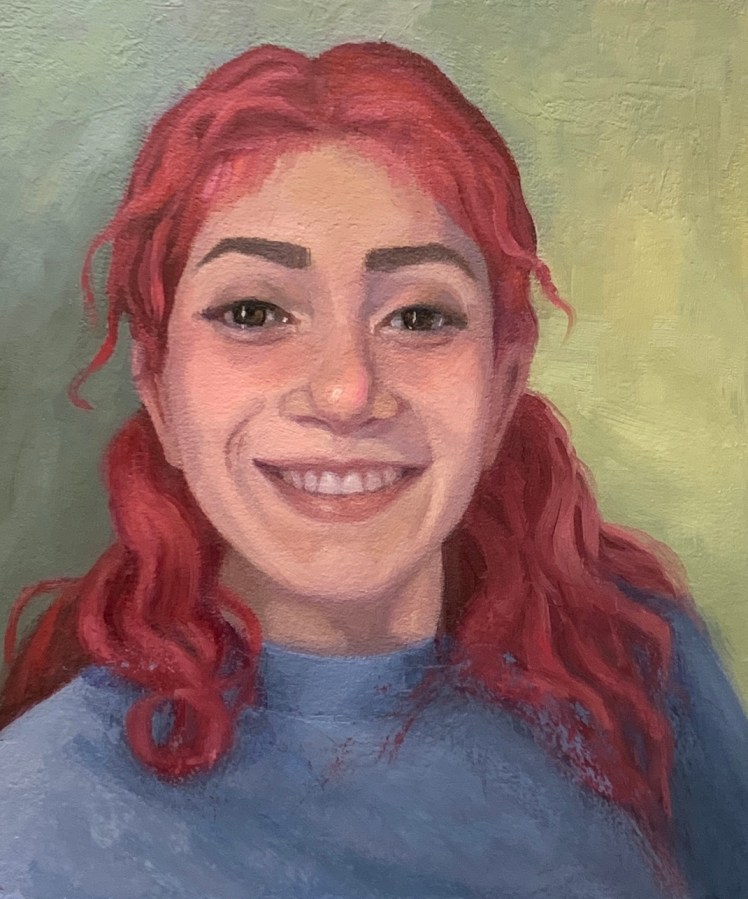
Hannah W from Sktchy, 14×11” oil on Arches Oil Paper.
Learning to paint (well) for me means a constant but gradual process of 1) learning from my mistakes and 2) having “layers of the onion” lifted from my eyes until I at last can see something that was previously mysteriously hidden from me. (You can see the reference photo for this painting on Sketchy here.)
This painting taught me once again how much harder painting can be when you don’t start with an accurate drawing, going directly to drawing with paint and then correcting, correcting, correcting.
Getting the drawing right and capturing a likeness can be as “simple” as recognizing the big shapes, contours, divisions of space and observing where things line up with each other. Getting the values right can be as “simple” as observing where the light comes from, how it lands on the large and small planes of the face or any object, and asking myself where the darkest and lightest areas are and how this plane compares. Getting good color “just” means accurately observing the overall and predominant range of colors (saturated or grayed, warm or cool) and then asking is this the spot “warmer or cooler, more or less saturated, lighter or darker.”
I can ask myself these questions over and over, but until yet another layer of the onion is lifted, I just can’t see the answer. When that happens my brain tells me it’s too hard and just jumps ahead with a lazy guess, which then sets off another round or layer of correction, correction, correction. But I do learn from my mistakes and each next painting is an opportunity to put what I learned from them into practice and hopefully remove one more layer until at last I will be able to truly see!