
I was happy that I met my two goals for this painting: 1) to keep it light and airy and 2) to draw and paint the flowers quickly before they changed or died.
I did the drawing on the first afternoon; painted the flowers and the background and began the vase on the second afternoon. I completed the rest of the painting the next morning, knowing it was my last chance before I’d be out of the studio for a few days. You can see the steps in the process photos below.

Photo of set up 
Drawing in pencil on Yupo 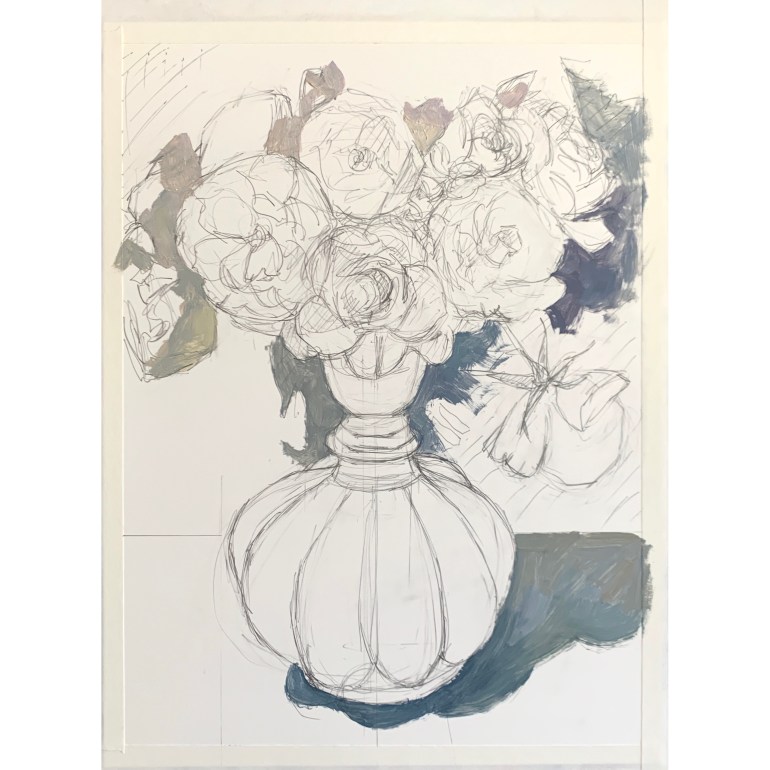
Day 2: Putting in Darkest darks on flowers and background 
Day 2: Getting the flowers blocked in 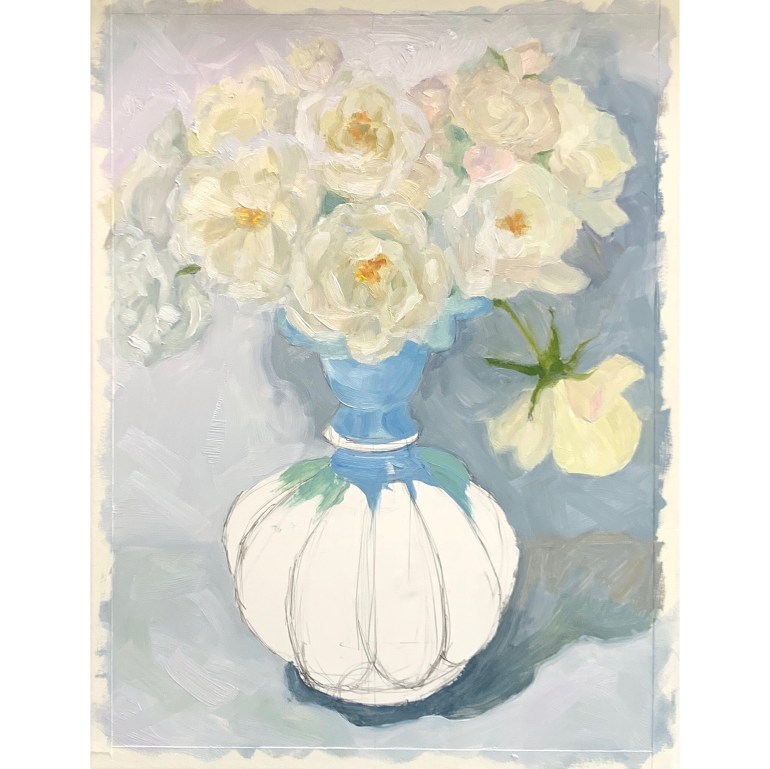
Day 2: Finishing flower block-in, background and starting on vase 
Day 3: Finishing vase, adding finishing touches to background and flowers
When I returned three days later the flowers were quite dead. Although I had a reference photo I could have used to “touch up” a few things, I felt that I’d said what I had to say and for once was willing to let it be as is instead of endlessly trying to perfect things.

One thing that made the painting really enjoyable was the discovery of this inexpensive and wonderful little clamp-on LED light that can be set to provide warm light, cool light or medium temperature light. It provided a perfect amount of directional light for lighting a still life and was easy to clamp on to my foam-core still life shadow box. The side of the box wasn’t quite tall enough so I just clamped on another piece of foam core and attached it to that. Since the light doesn’t weigh much it didn’t need anything more sturdy. No more clutter from a standing lamp or glare in my eyes from big heavy clamp on lights.
