- Happy Boy Farms Tomatoes, Oil on Gessobord panel, 12×12″
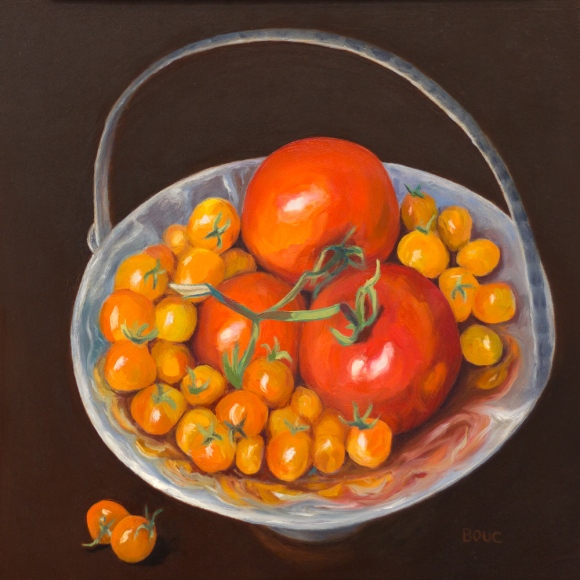
My friend Barbara said this painting made her want to lick the tomatoes right off the panel. That was her positive feedback when I got stuck and asked for advice at an earlier stage of this painting. The constructive criticism was harder to hear but helped me get to the final painting above. The earlier stages of the painting and her advice are below.
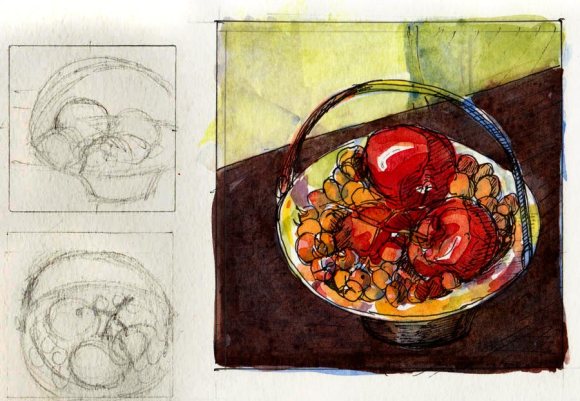
When I set up the still life I hung a light yellow-green cloth as a backdrop and piled the tomatoes into a thrift shop silver basket. I thought I’d use the folds in the cloth to divide up the green background.
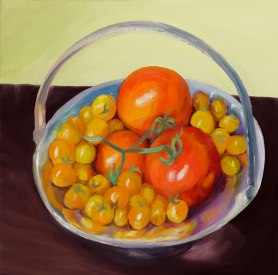
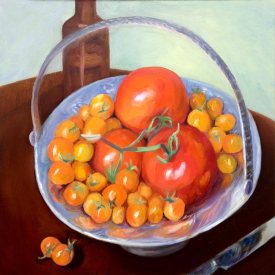
Have you heard the saying “Kill your darlings,” that editors commonly tell writers? It means that the clever passage the author is so proud of doesn’t move the story forward and needs to be cut. It applies to painting equally well. Barbara’s advice was to delete the nicely painted knife and the beginnings of a bottle that were in the version I showed her (above right). And we both agreed that no matter how I changed the shape or color of the greenish background, it continued to distract from the tomatoes so I got rid of it too.
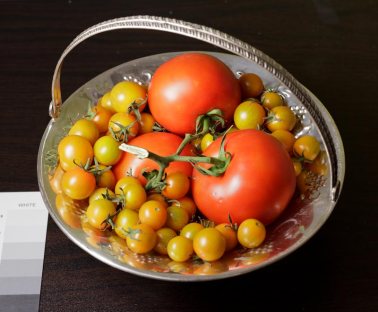
I also reshaped and toned down the handle since it was a) drawn wrong and b) trying to upstage the tomatoes. Although I painted the tomatoes from life, I took photos of the setup before I got started in case the tomatoes went bad before I finished. I painted them first and they held up quite well, although they quickly ripened from yellow to orange (and were delicious in salads and soup afterwards).
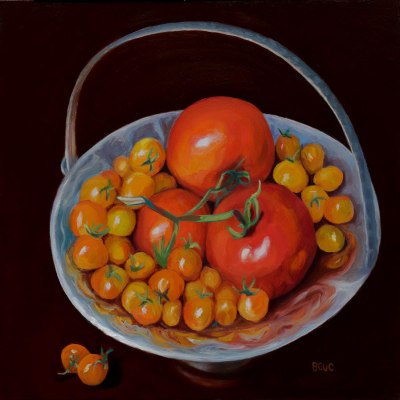
I am happy with the way this painting turned out and I’m glad I kept fighting. I especially like the tomatoes and the slightly strange stems that I painted once and left alone with just the first strokes instead of fussing with them. The tomatoes too were mostly painted once and left alone. They just worked. I love it when that happens!
14 replies on “Happy Boy Farms Tomatoes (Oil painting and process)”
Do you ever teach ib Boston or on Cape Cod? I love your work!
LikeLike
Hi Marian, Thank you so much for the nice note! I would love to teach there some day but have no plans currently. I’ve been to Boston but not Cape Cod and I definitely want to visit there. Is that where you live? Thanks, Jana
LikeLike
Yes! I paint both on the cape and in the Boston area. I just started with watercolor a year ago. I LOVE it. I have been experimenting with using pen & ink over my watercolors. It’s fun because I like to paint as well as draw. It adds a lovely, loose quality that I enjoy.
LikeLike
Have you tried sketching with just ink (needs to be waterproof) and then adding watercolor? It can really be fun. My drawings are wonkier and more playful and gets me out of my perfectionism and adds to the looseness. Jana
LikeLike
By the way…I think you would love the Cape Cod.
And I think the cape would love you!
LikeLike
From all the wonderful impressionist paintings done there, I know I would love it, just for the light and being near the sea. J
LikeLike
I have not tried sketching with ink first, but I will. Thanks for the idea! Do you use any particular type of waterproof pen?
The cape is a painter’s dream. Morning light is amazing. CCAA , Cape Cod Art Association, sponsors many workshops for experienced artists.
LikeLike
Maybe you could teach a workshop sometime at CCAA and then have fun traveling and painting around the cape!
LikeLike
Beautiful
LikeLike
I the first image and thought it was an excellent photograph. It was a really great image/painting.
LikeLike
Thanks Kirk for such a nice compliment! I wish the photo looked as nice as the painting. The painting has more of a glow to it. Jana
LikeLike
Excellent work, hope to see more from you
LikeLike
Thank you! So nice of you to take the time to leave a comment. Jana
LikeLike
Wow, Jana, your oil painting is wonderful! The tomatoes bring to mind the smell of just picked. . .
LikeLike